4 Creative Tips to Add Storage Space to Your Bathroom

A bathroom without storage space can really cramp your style. If you find yourself constantly knocking over toiletries and bathing supplies, some extra storage space might just be the solution to your problem.

A bathroom without storage space can really cramp your style. If you find yourself constantly knocking over toiletries and bathing supplies, some extra storage space might just be the solution to your problem. Without too much effort, you could optimize the space that is already there, or you could get creative with your space-creating solutions.

Use a Door-Hanging Shoe Caddy for Added Storage

If the back of your bathroom door is available, a door-hanging shoe caddy can contribute plenty of storage space. These can be bought at most general retailers and they simply hang from a door.

Fill the pockets of your hanging shoe caddy with toiletry bottles, bathing supplies and more.

Create a Towel Holder from a Wine Rack

The shape of many wall hanging wine racks is perfect for holding rolled towels. In addition to providing a classy look, these are usually generally easy to install. In most cases, all you will need to do is screw the rack into the wall to create a wall holder for towels.

Before you screw in the wine rack to the wall, be sure to check that it is level. To do this most efficiently, you may want to ask a friend to help.

You should be able to find suitable wine racks at big box stores, general retailers and hardware stores.

Once the wine rack is mounted on the wall, roll up your towels and place them in the slots where the wine bottles would normally go.

Store Spare Toilet Paper in Oatmeal Canisters

Toilet paper stacked precariously in your cabinets can be easily knocked over and can contribute to clutter. Large oatmeal canisters can store up to three rolls of toilet paper — depending on the kind of toilet paper — giving you a nifty spot to stash your TP.

You can add some flair to your oatmeal canister by covering its outer surfaces with a wrapping paper that matches the decor of your bathroom.

Using oatmeal canisters is one option — any kind of large, colorful kitchen canister will work.

Consolidate Magazine Storage with Hangers

Stacks of magazines can rob your bathroom of valuable floor and counter space. To avoid this, you can place hangers on door knobs and towel racks in your bathroom. Hang the magazines by opening the magazines to their middle pages and draping them from the hangers.

For standard-sized magazines, you can expect to be able to drape quite a few from your hanger before it becomes too heavy. For larger or special edition magazines, you may only be able to hang two or three.

You can also place a magazine rack behind the toilet to store your magazines.

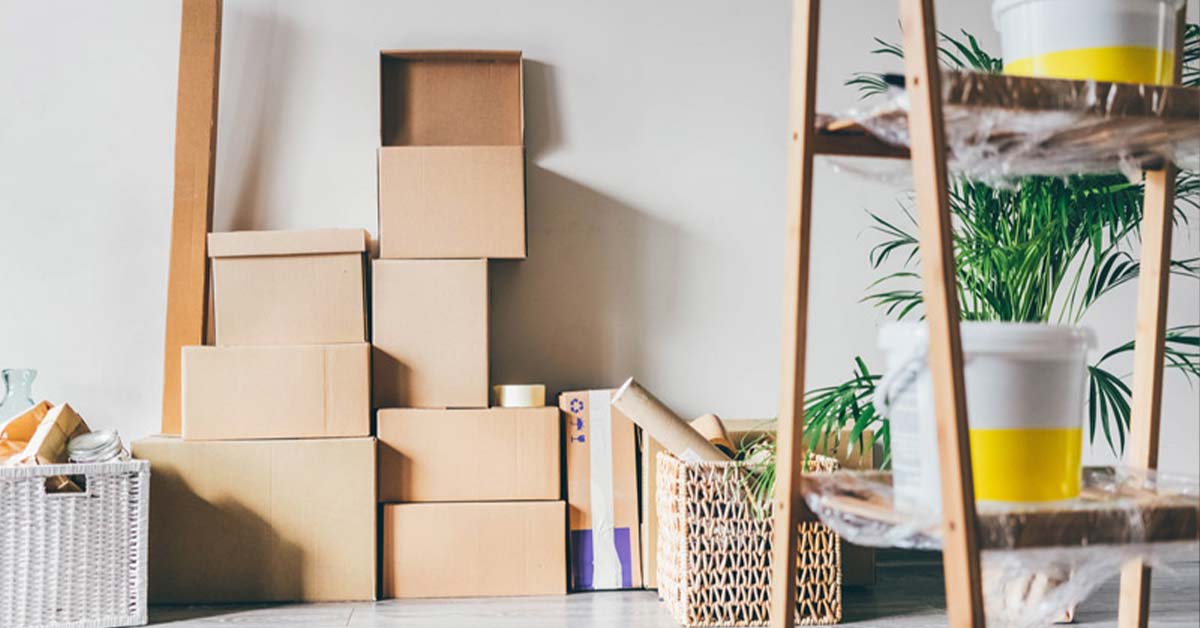
Alternatively, you can rent a storage unit to store all your bathroom needs. At U-Lock Mini Storage, we offer a wide selection of storage unit sizes for you to choose from. We offer storage solutions to our clients across Greater Vancouver,Vancouver Island and the Fraser Valley with storage units in Chilliwack (Chilliwack U-Lock Mini Storage), South Surrey and White Rock (White Rock U-Lock Mini Storage), Burnaby and Vancouver (Burnaby U-Lock Mini Storage), Victoria (Victoria U-Lock Mini Storage), Nanaimo (Nanaimo U-Lock Mini Storage) and Parksville (Parksville U-Lock Mini Storage). 
Please contact a U-Lock Mini Storage self-storage facility near you to inquire about our storage units and our team members will be delighted to answer any questions you have!

6 Reasons Why Decluttering Your Home Can Benefit Your Mental Well-Being

ve you ever walked into a recently cleaned room that was organized perfectly and decorated to its fullest potential? If so, you know the feeling of being peaceful and at ease that comes with being in such a space.

Have you ever walked into a recently cleaned room that was organized perfectly and decorated to its fullest potential? If so, you know the feeling of being peaceful and at ease that comes with being in such a space.

Nowadays, with more people than ever staying home regularly, it is important to create a space that supports your mental health and encourages feelings of well-being and serenity. Perhaps it is your office space, bedroom or bathroom that needs some extra help. Whatever the case, read on to see how decluttering and organizing your space can have great mental health benefits that impact your lifestyle and day-to-day activities.

Less Maintenance

When you really think about it, owning certain items can mean more work and maintenance. For example, if you have many shoes, you have to constantly clean, organize, and keep them in good shape. If you have a lot of tech and electronics, you have to keep them charged, up-to-date and in good working order. This requires care and attention on your part. If this maintenance work is not a source of stress for you, then feel free to continue doing what you are doing.

However, if you feel weighed down by constantly having to maintain all your collections and items, then you may need to rethink what you own and start decluttering. When you are mindful about each and only decide to keep what you really need, you decrease the amount of attention necessary to maintain your belongings. This way, you can focus more on things that matter: family, friendships, exercise, health and hobbies.

Less Cleaning Time

When you decide to get rid of the things you no longer need or want, and declutter items that are holding you back, you are essentially saving time and effort.. When you constantly bring in items and junk into your home, you must always spend time organizing, cleaning and finding new places for everything. This takes up a lot of your mental energy and precious time! If you make it a point to discard, donate or sell things you do not actually need, then you will free up a lot of your personal time as well.

Reduce Stress

Decluttering goes hand in hand with organization. Sometimes, our homes can be a source of added stress and frustration because they are constantly messy, disorganized, and overflowing with things. Decrease your stress levels today by getting rid of items you no longer need and organizing the ones you do. It may seem difficult to go through everything, but once you get it done, you will feel much lighter. You will not need to go through piles of junk in search of an item or constantly wonder where you have put things. Organize your belongings so that the things you need are visible or within reach; if you only keep what you need in the first place, this will be so much easier.

Create More Space

Perhaps you have discovered a new hobby, craft or something that you would like to make more space for in your life. Decluttering can help you get the ball rolling on activities that you have been wanting to enjoy, but maybe never had the space or time for. By decluttering and getting rid of items that no longer serve a purpose, you can make more room for new things that do bring you happiness and convenience. Even if you do not have a specific hobby in mind, clearing out space is still a good idea that can result in at least a little extra leg room to stretch out.

Sometimes, decluttering and organizing your space the way you want is easier said than done. This is where a Greater Vancouver self storage facility and a Greater Vancouver Island self storage facility such as U-Lock Mini Storage can help. If you find that you still do not have enough space in your home to keep all your belongings, or if your storage space is minimal to begin with, can book a storage unit where you can keep things like seasonal décor, rarely used wardrobe items, or certain supplies and inventory (if you run a business from home).

It is important to ensure that your self storage unit is climate controlled so that your belongings are not damaged by humidity or external elements. At the end of the day, renting out a storage unit can bring you peace of mind to know your belongings are safe while your main space at home is still clutter-free.

It is hard to deny that a clean, clutter-free room is anything but beneficial to your personal well-being and mental health. When you really think about your space and start to use it mindfully, you will reap the benefits of convenience, joy and ease.

We offer storage solutions to our clients across Greater Vancouver, Vancouver Island and the Fraser Valley with storage units in Chilliwack (Chilliwack U-Lock Mini Storage), South Surrey and White Rock (White Rock U-Lock Mini Storage), Burnaby and Vancouver (Burnaby U-Lock Mini Storage), Victoria (Victoria U-Lock Mini Storage), Nanaimo (Nanaimo U-Lock Mini Storage) and Parksville (Parksville U-Lock Mini Storage). 

Please contact a U-Lock Mini Storage self-storage facility near you to inquire about our storage units and our team members will be delighted to answer any questions you have!

RV Storage Tips: 3 Things to Know to Winterize Your Camper

Many RV owners want to learn how to winterize a camper without spending a ton of time and money in the process. Just make sure you do not skimp out on the process. Even if you are on a strict budget, you will want to winterize the RV correctly before putting it into any long-term storage during the cold season.

Many RV owners want to learn how to winterize a camper without spending a ton of time and money in the process. Just make sure you do not skimp out on the process. Even if you are on a strict budget, you will want to winterize the RV correctly before putting it into any long-term storage during the cold season.

The main risk of leaving an RV to sit all winter long is the possibility of freezing. Plumbing systems are especially susceptible to freezing, and the resulting repair bills could cost you tons. Since there are so many RVs and so many different factors involved in winterizing campers, it is best to follow your user manual.

This RV storage guide is meant to act as a quick reference and checklist, so you know what to expect at the end of the camping season. If you are having trouble getting started, you can hire a plumber or another professional to help you complete this process. Without further ado, here are our best tips for RV storage.

Protect the Plumbing System from Freezing

Most RVs get their water in one of two ways: either through a freshwater tank or a city water hook up. The freshwater tank is usually hooked up to a water pump, which then flows through a water heater.

When winterizing an RV, you will want to make sure you get antifreeze into every water system except the water heater. By draining and then bypassing the water heater, you will save several gallons of antifreeze.

To winterize an RV, you’ll need:

  • RV antifreeze
  • Water heater bypass kit

Drain out existing water:

  • Disconnect any outside water source connected to the city water hook up.
  • Drain any holding tanks including the fresh water tank and the black and grey holding tanks.
  • Drain any water heaters and drain lines.
  • Bypass the water heater using a water heater bypass kit to prevent the heater from being filled with unnecessary antifreeze.

Add RV antifreeze:

  • Add antifreeze to the inlet side of the water pump using a plastic tube.
  • Turn on the water pump to feed the antifreeze into the system.
  • Turn on and off each set of hot and cold water faucets throughout the RV until antifreeze comes out. Start at the highest faucet point and work your way down.
  • Keep flushing the toilet until you see antifreeze.
  • Once every faucet has been checked for the presence of antifreeze.
  • Pour several cups of antifreeze down each drain.
  • Reconnect the water line to the fresh water tank.

De-pressurize the system:

  • Turn off the water pump and open a faucet again to release pressure.
  • Make sure all faucets are closed after this process

Winterize the Inside of Your Camper

There are some things you will want to remove from your RV before storage and some things you will want to clean. Do not underestimate this next sequence of steps: the majority will help prevent rodents and other pests from making your camper their home. These steps will also help prevent unwanted odors, moisture build-up and damage. The cleaner, more streamlined the RV when put into storage, the better the next season will start up.

What to winterize inside your RV:

  • Unplug any electronics or small appliances. Remove any batteries from remotes, smoke detectors and other devices and store elsewhere.
  • Cover stove burners to help prevent spiders from getting inside.
  • Remove all food and drink from the kitchen and throughout the camper.
  • Remove all linens and have them laundered and stored offsite. Storing clean linens off-site will give you one less thing you have to do next season.
  • Remove all valuables. The last thing you want is for your RV to get robbed and to lose expensive items.
  • Thoroughly clean all appliances, cooktops, countertops and inside kitchen cabinets.
  • Remove external propane tanks and store them elsewhere. Make sure to remove any propane tanks from inside the RV.
  • To help deter rodents and pests, fill any holes with steel wool, aluminum foil or a mesh screen.
  • As a precaution, leave an odor absorber like DampRid open inside of the RV during storage. These containers can be bought at most grocery stores, or you can make your own using baking soda and essential oils.
  • Winterize any ice makers, mini fridges or washing machines as per the user manual. Make sure there is no standing water left inside the ice maker.

Take Care of the Exterior Components

Regardless of where you decide to store your RV, take some time to inspect the exterior. Anything that can be fixed should be fixed before leaving an RV out in the elements. Check the roof, inspect for areas of rust, and be sure everything is sealed correctly. In addition to this general inspection, consider the following steps for winterizing the RV’s exterior.

What to do to your RV’s exterior:

  • To keep tires in good shape throughout storage, use jacks or opt to rotate the tires twice during the winter season or every couple months the RV is in storage.
  • Consider investing in some tire covers to protect them from the sun.
  • Close any roof vents, fix any leaks and make any necessary repairs.
  • Remove awnings and store in a sheltered location.
  • Shut any gas tank valves.
  • Re-caulk and seal any gaps in the door and window seals.
  • Wash and wax the exterior right before putting it into storage. If storing in the open, invest in a fabric cover to further protect the RV.
  • Fill the exhaust pipe with aluminum foil or steel wool to deter pests from making a home inside. Check for any other holes that need to be filled.
  • Avoid using any type of rodent poison. The pest might eat the poison then die inside the RV, and the odor will not be pleasant.
  • Change the oil and add a new air filter.