4 Steps for Organizing Your Drawers

Drawers are a fantastic way to compartmentalize one’s belongings. But, it can also get real messy, real fast… Especially if you clean with the “out of sight, out of mind” approach. From office desk drawers to “junk” drawers, let us teach you how to reverse the entropy in those pesky little compartments in 4 easy steps. 

1: Emptying and Dusting the Drawers

Emptying out the drawer is a great idea to understand what exactly has been packing inside. Although you can still attempt to organize the drawer with all your belongings inside, it won’t be as effective to declutter for step 2, and be especially difficult for cleaning the dust out of the drawer itself.

Next, use a handheld vacuum or hose attachment to remove the dust that has accumulated inside. After all the dust has been removed, you can move onto using a cleaning spray on the drawer and subsequently wiping it clean with a microfiber cloth. If you spot any stubborn stains, baking soda and a wet brush works as a gentle exfoliant.

2: Sorting & Decluttering

Now, turn your attention to your pile of belongings you’ve removed from the drawer and categorize the items on utility. This is a great way to determine if you should actually keep the items. As you’re doing this, keep an eye out for items that are damaged and sort those into items that you would fix, recycle, or throw away. 

Although it can be tough to say goodbye to your possessions, here are 4 helpful questions to help you decide if you should keep your possessions. 

  1. Have you used the item within the last six months? 
  2. Do you foresee yourself using this item in the near future? Some seasonal items are exceptions to rule 1, as they can be cycled between storage and drawers as necessary. 
  3. Would you purchase this item again? If not, and you’ve said no to rules 1 and 2, it’s time to let it go.
  4. Would you keep the item if you were movin? If not, it’s time to say goodbye. 

Finally, consider the size of your drawer. If it’s a small drawer, don’t expect to keep more items than what you are able to fit within it. As for the no-pile, they can be sold at a garage sale or donated to a local charity shop. 

3: Designating space for the organized items

Similar to the previous tip, it is important to organize the drawers to make sure you have enough space for everything you’re choosing to keep, and that you’re able to categorize these items efficiently. 

For example, if you have a drawer full of power tools, screws, and mail, consider removing the mail into another safe place in your office drawer. Similarly, instead of folding hoodings and placing it into a dresser, the most efficient use of space would be hanging it up. The bottom line is that you’re keeping only the essentials in your home, and you’re doing so in a way that maximizes the space you have. 

4: Getting creative in categorizing your belongings

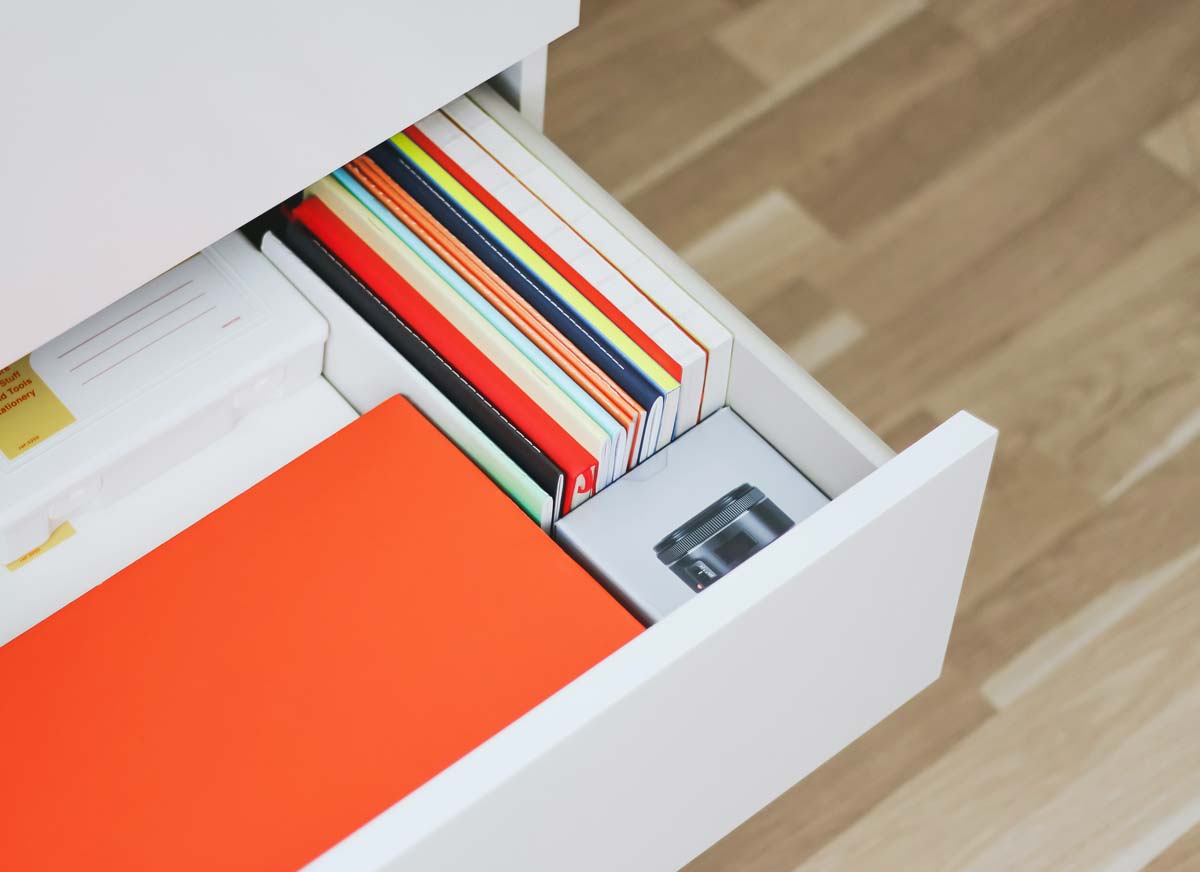
You’re all set in organizing your drawers and deciding what to keep. For items that are small and may require further sorting, the next step may be to think about getting dividers to keep things neat. Drawer liners are a great choice in dividing the space into usable sections, and they are also great in helping to minimize dust. A liner without holes is great for preventing any dust accumulation on the drawer underneath, and it is also easier to clean than going back to step 1. 

However, if you are on a tight budget, shoe boxes and cereal boxes are great make-shift containers for organizing dresser drawers. The bottom of cereal boxes are great too for storing silverware and utensils. Egg cartons and ice-cube trays are also a good method for storing smaller items, such as jewelry, on a budget.

And finally…

There you have it! Four steps to cleaning and organizing your drawer. However, if you’re someone who has gone through these four steps and still aren’t able to part with their belongings, it may be time to look into a self-storage unit to tidy your belongings. And conveniently – these 4 steps are great for organizing your drawers in the storage unit too!

At U-Lock Mini Storage, we have storage facilities across Greater Vancouver and Vancouver Island. Our facilities include self storage Victoria, self storage Parksville, self storage Nanaimo, self storage Burnaby, self storage White Rock and Surrey, and self storage Chilliwack. Contact us if you have any questions!

6 Things You Should Consider When Choosing a Long Term Storage Unit

Life is unpredictable and you never know when you might need  a long term storage. Maybe you’re relocating for a new job and need to put your items away, or maybe you are a store owner who needs a place to store the seasonal merchandise (afterall, there isn’t much demand for skiing equipment in the summer months). Or, some people prefer to store large items such as cars, boats, and RV’s in a long term storage because it takes up a lot of space in their home. 

Regardless of the reason for why you need a long term storage, it can be dizzying to choose from so many options of long term storage, but not all of the choices will suit your needs. Read on to find out 6 important factors you should consider to make sure you chose the best long term storage unit for your needs! 

1.The location of the facility & its accessibility

The distance of the long term storage should be carefully considered because it determines how accessible your trips will be. Unlike short-term storage, you can expect to travel back and forth a lot to retrieve your items in long term storage. How important is it to have a storage close to you? Are you willing to go for a more distant, but storage plan that is of better value? These are important questions to answer so you make the best choice for both your gas and storage budget. At U-Lock Mini Storage, we have storage facilities across Greater Vancouver and Vancouver Island. Our facilities include self storage Victoria, self storage Parksville, self storage Nanaimo, self storage Burnaby, self storage White Rock and Surrey, and self storage Chilliwack.

2.The Hours of operation & your personal schedule

Factoring in the facility’s hour of operation allows you to determine if you can access the storage unit at a time that is convenient for you. For example, if you are someone who works long hours during the day and the storage unit follows a strict 9 to 5 work day, it will make it very difficult for you to find the time to retrieve your belongings without sacrificing work hours. Ideally, we would recommend a storage unit that offers access on weekends or past work hours. 

3. The Finances & The “Fine-Print”

There is often flexibility in paying by the month or by the week, and sometimes there may even be “freebie” storage months if you are a long term client. On the other hand, if you’re not sure how long you’d want to keep your items in storage, make sure to find out if you’re able to terminate the contract anytime without penalty. It is always in your best interest to pay attention to these details so you are storing your items on your terms, and not the other way around.

3. The Safety & Security of the Unit

While all storage units offer some level of protection, not all security measures were made equal and you should consider what levels of protection you are comfortable with for your belongings. The security can range from a simple lock on the unit, to ones that include additional 24-hour digital surveillance in a brightly lit environment. It is never a bad idea to double check with the security measures before signing a contract with your chosen facility.

4. Insurance Options for the Storage Unit 

If you have insured your items through a third-party insurance policy, you may need to check if those items are still protected when they are placed in a storage unit. If not, you may need to opt for a storage facility that offers additional insurance policies to protect your belongings. These policies usually cover losses such as water damages, theft, and will properly compensate you if the unfortunate events do happen. Plus, it can offer your great peace of mind to know that your items have an additional layer of protection in the storage unit.

5. Past Reviews and Ratings 

Last but not least, past review ratings paint an honest picture of what you can expect when you trust the long term storage with your belongings. Even if you are signing with an established storage facility, it is still important to double check with your specific location. 

Websites like Yelp or Facebook can give you an idea of the storage unit’s services from the customer’s point of view, or even asking for friends’ and neighbours’ recommendations are a good way to gauge whether or not you should go with a certain storage unit.

And there you have it – 6 important things to consider when choosing a long term storage unit. You are now all set to find an option that works the best for you!

6 Tips for Storing Your Student Dorm Room

Student life isn’t easy, but at least you can say goodbye to a few months of stress by moving off-campus at the end of the semester! But before you go, don’t forget to safely put your belongings in a storage unit so they are just the way you left them by the time you return. 

Not sure where to start? Here are six essential tips for storing and safekeeping various belongings in a storage unit

1. Books 

You spent a pretty penny on those textbooks, and they should be packed, transported, and stored with care. Books should stay upright or flat on their sides, or their spines may be damaged from improper storage. 

In terms of protecting the books during transport and storage, plastic sleeves are ideal for those rare, prized first editions, and plastic bins are also great for protecting against the elements. 

Moreover, always make sure to store books separately in a smaller box. Otherwise, these books can be too heavy to lift.

2. Bedsheets and towels

Moisture is your number one enemy when it comes to storing bed sheets and towels. As a first step, make sure everything is completely dry before it’s packed away for the summer. 

Similar to protecting the books, plastic bins provide a sealed barrier against the elements and keeps your dry fabrics mildew-free in storage. 

As a final touch, mothballs are great for protecting your fibers against cloth-eating insects during the summer months that you are gone.

3. Laundry hamper 

Laundry hampers are a delicate essentials to any dorm dorm, so it’s important to place your collapsible laundry hamper on top of your belongings so they won’t get crushed. If it isn’t collapsible, you can stack them on top of eachother to save some room.

4. Electronics

Before storing your electronics, make sure all batteries are removed. Batteries can leak if they are not used for a long time, which can damage the appliance in the long run. Next, pack all appliances in the original packaging if possible. If not, packing peanuts offer great protection, especially during transport. Taking the time to cover your screens with a cloth will protect them from the elements during storage as well. Plus, as a bonus, it will protect your gaps and vents from being clogged with dust. 

During moving, make sure to keep them at the top of the moving pile due to the electronics’ fragile nature. As well, keeping the electronics on top keeps them from getting damaged by moisture during storage.

Finally, temperature and humidity will play a huge role in the longevity of your gadgets, so it’s worthwhile to make sure it’s stored somewhere shady and cool.

5. Pictures frames and mirrors 

Picture frames can be scratched during transport and can be damaged by moisture during storage, so packing it in bubble wrap offers great protection for both problems.

During transport, avoid placing anything heavy on top of your picture frames or mirrors. No matter how light, the weight is still capable of damaging your fragile belongings.

When sorting in a storage unit, avoid placing glass frames or mirrors directly on the ground. Old blankets or thick cardboard are a good way to protect the glass from scratching or shattering. Otherwise, cold or rough surfaces from the concentrate may also cause the glass to crack. 

6. Dishes

Much like picture frames, dishes are delicate and need proper protection. Make sure to wrap everything in paper when packing – plenty of paper. Packing bowls and plates on their sides in boxes provides adequate protection from chipping and shattering during transport and storage. 

Still paranoid about your dishes’ integrity during transport? Specialty dish boxes with individual compartments for glassware give protection while in transport and storage. Finally, not all glassware and ceramics were made equally, so make sure to store your most fragile utensils at the top of the pile. 

With the six essential moving tips above, all that’s left to do is to book a van and set a date to temporarily move your well-packed belongings into a storage unit. Unofficially, we think it’s the most fun to do with your best buds – though they might take a little bit of convincing with a large pizza and fizzy drinks on a hot summer day. After that, it’s time to kick your feet up and let the summer adventures begin!

At U-Lock Mini Storage, we have storage facilities across Greater Vancouver and Vancouver Island. Our facilities include self storage Victoria, self storage Parksville, self storage Nanaimo, self storage Burnaby, self storage White Rock and Surrey, and self storage Chilliwack. Contact us if you have any questions!