How to Prepare Your Car for Long Term Storage: 8 Tips You Should Know

There is quite a difference between not using your car for a couple of days and not using it for six months.

There is quite a difference between not using your car for a couple of days and not using it for six months. Understanding how to prepare your car for long-term storage by following simple maintenance and service is integral in keeping your vehicle in top condition. Here are eight tips for preparing your vehicle for long-term storage.

Check Your Paperwork

Renew your registration beforehand if it is set to expire while your vehicle is in storage, or set a reminder to do so when it is due. Additionally, contact your insurance company to inform them that you will be storing your car and confirm that your car is fully covered by your existing insurance policy.

Service Your Car

It is important that your engine and fluids are in good shape before you store your vehicle for a long period. Otherwise, your car might not start when you are ready to use it again.

  • Change or top off fluids, which may contain sediments, as appropriate. This includes oil (synthetic oil breaks down more slowly over time, which makes it a preferred option for storage), coolant, transmission fluid and brake fluid.
  • Empty out windshield washer fluid in regions susceptible to freezing to protect spray hoses from freeze-thaw cracks.
  • Fill your car with gasoline, as it leaves less airspace for moist air to enter the engine and form condensation (or ice), and add a fuel stabilizer, available at any hardware/parts store.
  • Check belts, filters, hoses and other components of your engine. Ensure that all are in working order and clean.

Lubricate the Car

Oil the hinges of the hood, doors and trunk. Use a graphite-based lubricant for locks. Coat rubber parts of the doors and tires with silicone or white lithium grease. This will help prevent them from freezing shut.

Clean the Interior

Throw away any trash. Vacuum seats and floor mats to prevent damage. Do not use chemical protectant (i.e. Armor All) on leather, vinyl and other fabrics as it may stain or cause excessive chemical damage to surfaces. Wash the inside of your windows. Getting the interior of your car in shape before storing it will prevent smells and potential damage from the sun or heat, if you are not storing your vehicle in a storage unit.

Care for the Exterior

Wash, buff, and wax your car. Have the vehicle detailed, if possible. Make sure to clean the underside of your car – anything stuck to the bottom of the car acts like a sponge, trapping moisture that could lead to the creation of rust. Remove wiper blades or lift them up so they do not become deformed or flat. Ensure all leaves, pine needles and any other debris have been removed from the engine compartment and the windshield wiper cowl.

Ensure that the Battery is Fully Charged

Electronics can quickly drain the power of your battery, so make sure it is charged before you store your vehicle. You can also consider using a trickle charger. Disconnect your battery if you are storing your vehicle for more than 6 months and take the disconnected battery someplace temperate and dry.

Deflate Your Tires

Deflate your tires to 10psi less than the manufacturer’s recommendation and place the vehicle on jack stands if you are storing your vehicle for more than 6 months. This allows the rubber to relax and prevents cracking while allowing you to still drive on them when you remove the vehicle from storage. There are accounts of “flat spots” if a vehicle is stored on the ground, but newer tires are engineered to prevent this and any flat spots will be worked out while driving within 160 km or so.

Cover Your Vehicle

Vehicle covers protect your car from sun damage, dust and minor dings. Try to find a vehicle cover designed for long-term storage – these will not trap moisture, but they will allow your vehicle to breathe.
If you have any questions about car storage, please contact U-Lock Mini Storage and our staff will be delighted to answer any questions you have!

How to Add Storage Space to Your Garage – Part 1

Adding storage space to a garage is a great way to organize and free up some room in your garage.

Adding storage space to a garage is a great way to organize and free up some room in your garage. 

Before you begin adding anything new to your garage, you will first need to organize it by sorting your things and drafting a floor plan. Once your garage is organized, you can build some shelving and install other vertical organization systems. You can also clear some space by hanging things from the ceiling or placing them in cabinets and plastic bins.

1. Sort Your Things

Go through the things in your garage and organize them according to function or utility. As you sort, you should also create three other piles for things that you want to recycle, throw away or donate. Once you have sorted everything and removed the things you want to get rid of, you should have a better idea of what your needs are going to be. If there are some items you want to keep but you do not have enough space at home to keep them, rent a storage unit to keep your items safe and sound.

Be sure to responsibly dispose of any chemicals or other hazardous materials in your garage. Do not simply throw them in the trash or pour them into the drain. Contact your local hazardous waste site about disposing of these substances.

2. Group Similar Things Together

When sorting the things in your garage, determine what items will be stored together. Keeping similar things in groups will make it easier for you to find them later. It will also help you determine what kind of storage system to invest in.

For example, put all of your gardening supplies in one group and your sports gear in another.

3. Draft a Floor Plan

Once you sort everything, make a floor plan of your garage. With a tape measure, register the measurements of the garage, paying particular attention to the windows, doors and any utilities. You should also figure out how much space you will need for your car. After you have all your measurements, plot out the dimensions of your garage on grid paper and highlight the areas where you can store things.

4. Determine Where You Want to Place Things

Using your floor plan, consider the types of storage space you will want to add and the space requirements of each item. Some shelving and vertical storage space systems will allow you to maximize your wall space without giving up too much floor room. Things like plastic bins and cabinets will take up more space, but they are useful for storing things in the long term.

  • Remember to keep garden tools, bikes, and other frequently used outdoor gear near the garage door.
  • Make sure that the trash and recycling bins are easily accessible from the door to the house.
  • Keep your seasonal items in the hardest-to-reach places, like the top of a shelf.

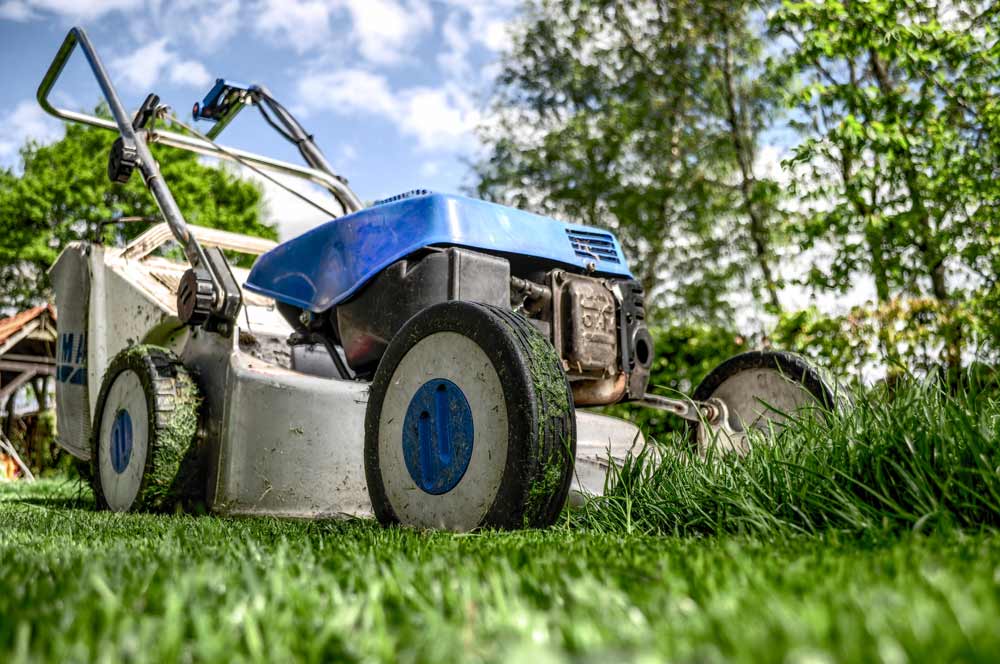
Lawn Mower Storage for the Winter: 7 Tips You Need To Know

Take these steps to store your lawn mower to maintain and increase the lifespan of your equipment. Make sure you take all the proper precautions when winterizing your mower.

When storing a lawn mower for the autumn or winter, there are different types of solutions. Some people rent a storage unit or store their lawn mowers in their garage, while others leave their mowers outside in the snow and hope for the best. The most vital thing you can do when storing a lawn mower is tend to the fuel system. Taking this step will significantly reduce the chance of having problems come the warm season.

No one wants to have to tinker with a broken mower or buy a new one at the start of every season. It is worth it to prepare your lawn mower for the winter like you would with a car or boat, especially if you have an expensive riding mower.

Take the following steps to store your lawn mower to maintain and increase the lifespan of your equipment. Make sure you take all the proper precautions when winterizing your mower.

1. Drain Gas or Add a Fuel Stabilizer

There are two methods for lawn mower storage when it comes to gasoline. You can either leave the gas in the tank and stabilize it, or remove it completely. It is never a good idea to just leave fuel in the tank without any intervention, as it can start to degrade in a month or two and wreak havoc on the carburetor and fuel tank.

Option 1: Remove Gas from a Lawn Mower

In certain situations, it is best to remove all the gas from a lawn mower when storing it for the winter. If you are keeping your lawn mower in your basement or inside a storage unit, remove all fuel; otherwise, it can become a fire hazard.

To drain gas from a lawn mower, do your best to let the tank run dry toward the end of the season. To achieve this, run the mower until it stops and will not restart again. Any remaining fuel can be siphoned out with a turkey baster.

Option 2: Add Fuel Stabilizer to a Lawn Mower

If you are storing the lawn mower in a detached garage or shed, leave a full tank of gas and top it off with a fuel stabilizer. Once the stabilizer is added, run the mower for a couple minutes to make sure the stabilizer gets into the system.

2. Prevent Mower From Kick-Starting

Before you clean your lawn mower and prep it for storage, make sure you remove the spark plug. This will prevent the mower from being turned on accidentally; the importance of this step cannot be stressed enough.

3. Drain or Change Oil

Change a lawn mower’s oil at the end of every season. The first step is to figure out if you have a two-cylinder or a four-cylinder lawn mower. Two-cylinder motors have the oil and fuel in the same tank, in which case you can drain the oil along with the fuel. With four-cylinder motors, the oil will need to be changed similarly to how you would do so on a car. Reference the lawn mower’s owner manual for specific instructions on how best to do this.

In general, you can follow these steps on most four-cylinder mowers:

  • Check the level of the oil by removing the dipstick
  • Make sure the oil is warm; if it is not, you can warm it up by running the mower after adding fuel stabilizer or when draining the tank. If you waited for this step and the engine is cold, connect the spark plug temporarily and run the mower for 10-15 minutes.
  • Remove the spark plug again if you had to use it to warm up the engine. If your mower has a battery, disconnect it.
  • Pull the oil plug and drain the oil into an oil-safe drain pan.
  • Properly dispose of used oil by bringing it to a recycling facility that can properly dispose of it.
  • Add new oil to the tank according to the manufacturer’s recommendation.
  • Lawn Mower Storage Pro Tip: If you have inconveniently positioned drain plugs, consider purchasing an oil extractor to help with this process.

4. Clean Deck and Undercarriage

A garden hose or a pressure washer on a low setting will work well to clean the lawn mower deck. In theory, grass should be cleaned off after every mow. However, if bits of grass have dried and crusted onto the metal, make sure to remove it before storage. If necessary, take a wire brush, putty knife or a flat head screwdriver to scrape off anything that the hose could not clean.

Be careful with the mower blades and make sure to wear thick, durable gloves during this process. Once the undercarriage is clean and dry, use a silicone spray to prevent future build-up and better preserve the lawn mower.

5. Remove and Sharpen Blade

To remove the blade, lean your mower on its side with the carburetor facing up. Find a long-handled wrench that matches the bolt holding the blade in place. If the bolt is stuck in place and corroded, spray on some oil or lubricant and let it sit for a few minutes.

Once removed, sharpen each blade evenly. You do not want to make the mistake of sharpening only one section because this could lead to an uneven lawn. To sharpen, clamp the blade in a vise and use a mill bastard file to file down the blade until it is as sharp as a butter knife.

6. Replace Spark Plug and Air Filter

At this point, the spark plug should already be disconnected. Use a wrench or pliers to completely remove the plug. Take the plug with you to the store to make sure you purchase the correct replacement. Next, screw in the new plug and either reconnect the wire or leave it disconnected for storage.

Before storing a lawn mower for the winter, you will want to either clean or replace the air filter. Some lawn mower filters are made of paper and should always be replaced when they look dirty. Other foam or plastic filters can be cleaned, dried, and then coated with a few tablespoons of oil before being reinstalled. Finally, use a spray lubricant to coat any exposed lawn mower components.

7. Rent a Storage Unit

One of the best ways to keep a lawn mower in good shape is renting a storage unit and storing it when not in use. Stowing a lawn mower in a storage unit ensures that your lawn mower is kept in a secure and clean space from which you can retrieve it whenever you need it!