Questions You Should Ask When Renting a Storage Unit

  1. What are the requirements to rent a storage unit?

You just need a valid, government-issued form of ID to rent your storage unit. Options include a driver’s license, passport, state ID or military ID. When reserving the storage unit, you’ll need to sign a binding storage unit agreement or contract. Needless to say, make sure to read it thoroughly first.

  1. What size storage unit should I rent?

The storage unit you pick depends on the number and size of items you want to store.

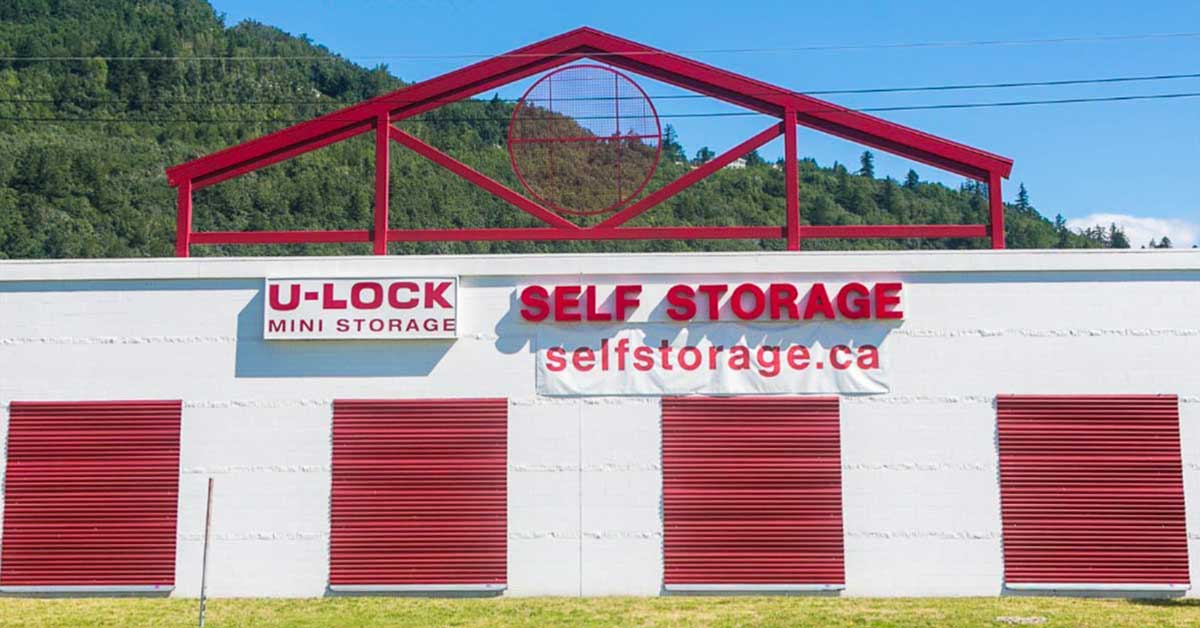
Good news: at U-Lock Mini Storage, we offer a wide selection of storage unit sizes such as 5’x5’, 5’x10’, 10’x10’, 10’x15’ and 10’x20’ storage units. To see which storage unit size best serves your needs, feel free to contact us and we’ll be more than happy to help.

Our facilities include storage units Victoria, storage units Parksville, storage units Nanaimo, storage units Burnaby, storage units White Rock and Surrey and storage units Chilliwack.

  1. For how long can I rent a storage unit?

Typically, you can rent a storage unit for as long as you like. Some people even rent storage units indefinitely as an extra space for personal or work-related items. At U-Lock Mini Storage, we offer month-to-month rental so our clients only need to rent storage units according to their needs.

  1. How is the cost of a storage room for rent determined?

The cost of a storage unit is typically based on the size of the storage unit and the floor level on which the storage unit is. For example, a larger storage unit on the ground level, which is more easily accessed, will have a higher storage price.

  1. How does the payment work?

You’ll be paying once a month on or before the date specified in your rental agreement.

If you default on your payment (anywhere between 5 to 30 days after the due date), the storage facility can deny you entry. The point of default should be specified in your lease. You can regain access to your unit after you pay the past-due amount. If you don’t pay your bill, per self-storage state lien laws, a storage facility has a right to hold and auction off your belongings to make up for lost rent money. This is the last resort, and you can prevent it by learning the terms of your contract, paying your monthly bill on time, and communicating with the rental facility manager as soon as possible if you’re having any issues.

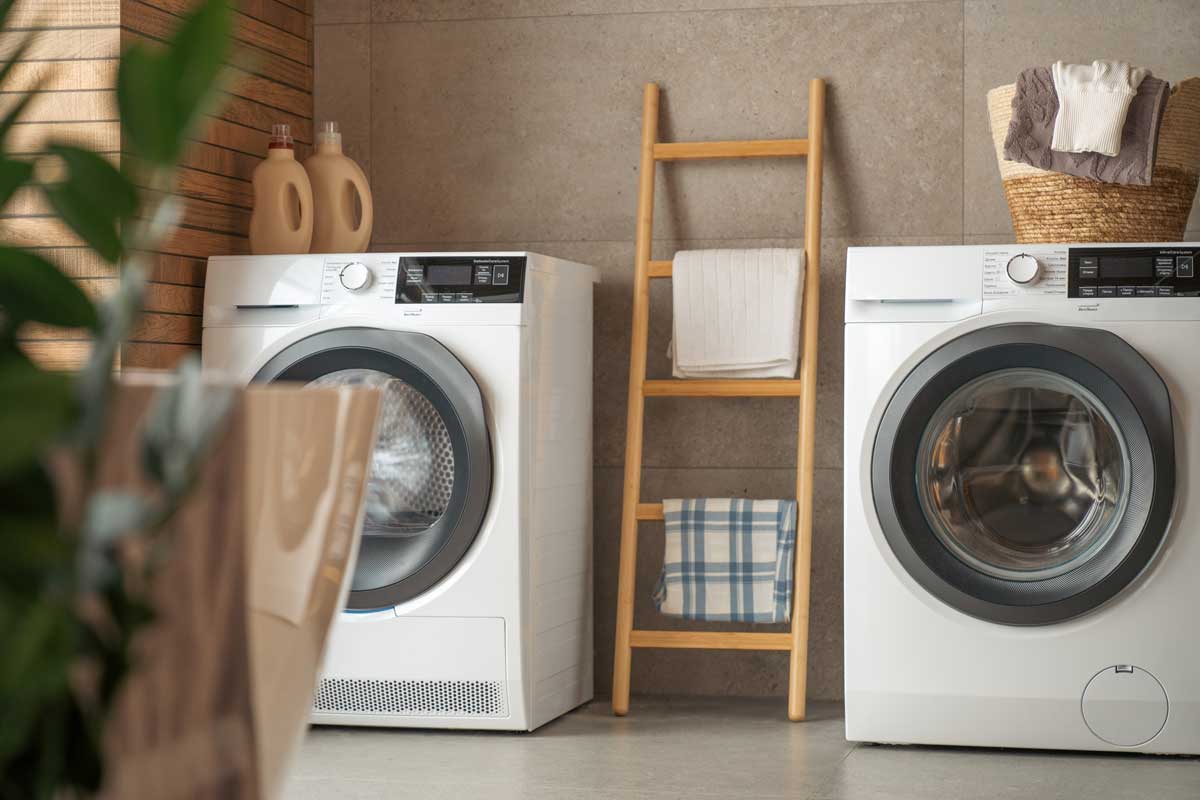
  1. How do I get my belongings to the storage unit?

A full-service storage company will take care of that for you. But if you DIY, there are several options. If you don’t have many things to store, you can pack your own car and make one or a few trips to the storage facility. To transport more items than your car will hold, consider asking for a favor from a friend or a family member with a truck. Alternatively, you have the option to rent a truck. Finally, you can take advantage of free truck rentals offered by some storage companies. Storage companies like Life Storage and CubeSmart (in partnership with Penske) offer rental trucks at select locations. At U-Haul’s participating locations, all one-way truck or trailer reservations come with one-month free storage.

  1. What’s in a rental agreement?

Your rental agreement (also referred to as a rental contract, self-storage contract or lease agreement) will specify all the terms of your lease. It’s a binding document so you should read it carefully before you sign (online or in person) and abide by what’s in the document. Generally, your rental agreement will have:

  • The description of the unit
  • Length of the lease
  • The amount of your rent
  • Your payment due date
  • The amount of your security deposit
  • How payments are accepted (credit card, check, online)
  • Non-payment terms (when a payment is considered late, what the late fee is and what happens if you stop paying rent)
  • Any additional fees (lock-cut fee, auction fee)
  • Tenant rights and responsibilities
  • Landlord rights and responsibilities
  • Cancellation terms
  • What you can and can’t store
  • The value limit, if there’s one ($5,000 is common)
  • The move-out process (when to give notice, what condition to leave the unit in)

5 Tips on How to Organize Photos

Do you have bins and drawers full of photos from years gone by? Does it take you longer than it should to find that one special picture for your child’s family history project? If the answer is yes to either question, it’s time for you to re-organize your photos.

Organizing and preserving precious photographs is important, but often these tasks are set aside until “later.” However, “later” rarely seems to turn into “now.” To help you organize photos, we have come up with five tips you can use.

Decide Your Objective

The very first step to organize your pictures is to figure out what your end goal is. Is it to preserve them for future generations? Is it to create a celebratory slideshow for your daughter’s graduation? Do you just want to be able to find those cute pictures of the kids to share on Throwback Thursday?

Whatever your final goal may be, give some thought to it now. It will help you prioritize your actions as you work through the organizing process.

Collect Photos You Want To Keep

You can’t decide what your photo organizing process is going to be until you know exactly what you’re working with. Scour your house and find all your printed photos, including both loose and framed pictures, photo albums and even slides and negatives. By getting everything together and putting all the pictures in one area, whether it be in your guest room or on your current laptop, you will be able to better evaluate what you have and what you need to do to reach your end goal.

Sort Your Photographs

Start putting some order to the chaos by sorting your photographs.

One of the most common ways to do this is to sort them chronologically. If you don’t know the exact dates of pictures, you can often find clues such as printer’s codes on the backs of the pictures, a receipt attached to the developing envelope or even the hairstyles of the people in the photo.

Don’t worry if your chronological sorting is not perfect. You can always tweak it later. You can also sort by themes such as vacations and birthdays, or by person.

Sort directly into your photo boxes if possible. Remove pictures from developing envelopes and plastic bags. Keep the negatives with the photographs: they will be helpful in the next step. Take the time now to toss any duplicate prints and blurry shots.

This is a good time to decide what you are going to do with your intact photo albums. If your albums include those pesky magnetic albums so popular from the 1960s until the 1990s, I highly recommend you remove the pictures. These albums are slowly destroying your precious pictures.

Some albums may need to stay intact, like the black paper ones from your grandmother in which she documented your family history. If you do remove the pictures from your albums, sort these photos into the boxes as well. You can always put them back into an album later.

Scan Your Photos

Your pictures are part of the beloved record of your family’s life. By scanning and digitizing the photos, you are creating a backup copy of the prints and creating a method to more easily share and enjoy your pictures in this digital age.

If you have negatives and slides, it is helpful to find a scanner that will scan them as well. If you have printed photos and the negatives that go with them, it’s better to scan the negatives; they will give you a truer color and clearer picture.

If you have decided to keep your albums intact, you can use a small, portable scanner such as the Flip-Pal to scan the pages without damaging the albums.

Rent a Storage Unit

Once you’ve scanned all your photos, you can keep the original copy of the photos in a safe place. A fantastic place to keep the photos safe and sound is in a storage unit. You can rent a smaller storage unit such as a 5×5 feet storage unit. This storage unit size should suffice for your photo storage needs. If you have a few more items you want to store alongside your photos, you can go with a bigger storage unit size such as 5×7 feet or 5×8 feet. At U-Lock Mini Storage, we have storage facilities across Greater Vancouver and Vancouver Island. Our facilities include storage units Victoria, storage units Parksville, storage units Nanaimo, storage units Burnaby, storage units White Rock and Surrey and storage units Chilliwack

Contact us if you have any questions!

How to Organize Your Laundry Room

Let’s face it: most of us dread doing the laundry. Whether it’s because of the time it takes, the interruption of your day or you just don’t enjoy the mundane task of sorting, washing, folding and ironing, you’re not alone! For many homeowners, the issue isn’t so much the act of doing the laundry, but rather that their laundry room is small, cramped or just uninviting.

While it might seem like an afterthought, learning how to organize a laundry room is a crucial step in keeping your house clean. In most homes, the laundry room is a cramped space for shoes, towels and piles of clothes — but it’s time to streamline. Here’s how you can transform your laundry room into a welcoming, organized and functional space.

Minimize Your Wardrobe

You can’t expect to organize a laundry room when you have far too much laundry to work with. That’s why the first step is to reduce the clutter taking up space in your closet and dresser. Minimal clothes means minimal laundry, which means minimal hassle for you!

Here’s what you can do to eliminate wardrobe clutter:

  • Toss or donate old clothes. We all have outfits taking up space in the closet that never see the light of day. If you have clothes you no longer wear, toss or donate them to create more space in your bedroom and laundry room.
  • Swap out seasonal gear. If the bulk of your organization problem is off-season clothing, it’s time to clean out those closets and make room for the essentials. Store summer or winter clothes in bins or storage units until it’s time to wear them for the appropriate season.
  • Simplify your laundry. Instead of waiting to do laundry until your hampers are full to the brim , create a system (and schedule) to wash different types of clothing. For example whites on Monday, lights on Wednesday, darks on Friday, towels on Saturday, etc. Minimizing your loads will help you learn how to organize a laundry room and keep it that way for years to come.
  • Rent a storage unit. If you don’t have enough space at home to reduce clutter, rent a storage unit. If you have a few items you want to store in a storage unit, go with a 5×5 feet storage unit. If you have quite a bit of items to store, you can go with a large storage unit such as 5×8 feet, 5×10 feet, or bigger. At U-Lock Mini Storage, we have storage facilities across Greater Vancouver and Vancouver Island. Our facilities include storage units Victoria, storage units Parksville, storage units Nanaimo, storage units Burnaby, storage units White Rock and Surrey and storage units Chilliwack. Contact us if you have any questions!

Create Laundry Stations

Where do you keep your hampers? Do you have a dedicated place to fold and sort your laundry? How often do you find yourself carrying piles of clothes up and down the stairs because you have nowhere to put them?

That’s where organized laundry stations come in. Before you start organizing, come up with a system that allows you and your family to keep the room clean, spacious and clutter-free.

Consider the following items you’ll need when it comes to creating your functional laundry room space:

  • Counter space. Make your life easy by having access to counter space or folding tables. With available counter space close by, you’ll be more likely to hang, fold and put away your clothes as soon as you take them out of the washer or dryer.
  • Drying rack. Whether you prefer drying your clothes on hangers or placing them on a drying rack, make one (or both) of these areas available in your laundry room. Tension rods are a great way to save space while drying your clothes.
  • Laundry baskets. Keep a hamper or laundry basket in the laundry room so you can quickly load and unload during the laundry process. Ideally, these can find a home underneath counters or in a nearby closet.
  • Ironing board. Instead of putting away wrinkled clothes and ironing outfits right before you wear them, keep an ironing board in the laundry room so you can unwrinkle your clothes right away. This will save you time, space and hassle in the long run.

Purchase Space-saving Appliances

Just because washers and dryers are huge space-takers doesn’t mean we should let them conquer our laundry rooms. If you’re looking to purchase a new washer and dryer (or simply looking to downgrade to smaller, more efficient appliances), keep in mind that less is more. A smaller washer or dryer would give you more square footage in your home, more space in your laundry room and it would create a more functional area for you and your family, too.

There are several benefits of an all-in-one laundry unit:

  • Stacking your appliances allows them to fit into closets, smaller spaces and studios or apartments.
  • Smaller washers and dryers tend to come with pedestal drawers underneath, allowing for extra hidden storage space.
  • Space-saving washers and dryers save more than just space. These smaller appliances are often high-efficiency—helping you reduce your footprint and utility bills, too.