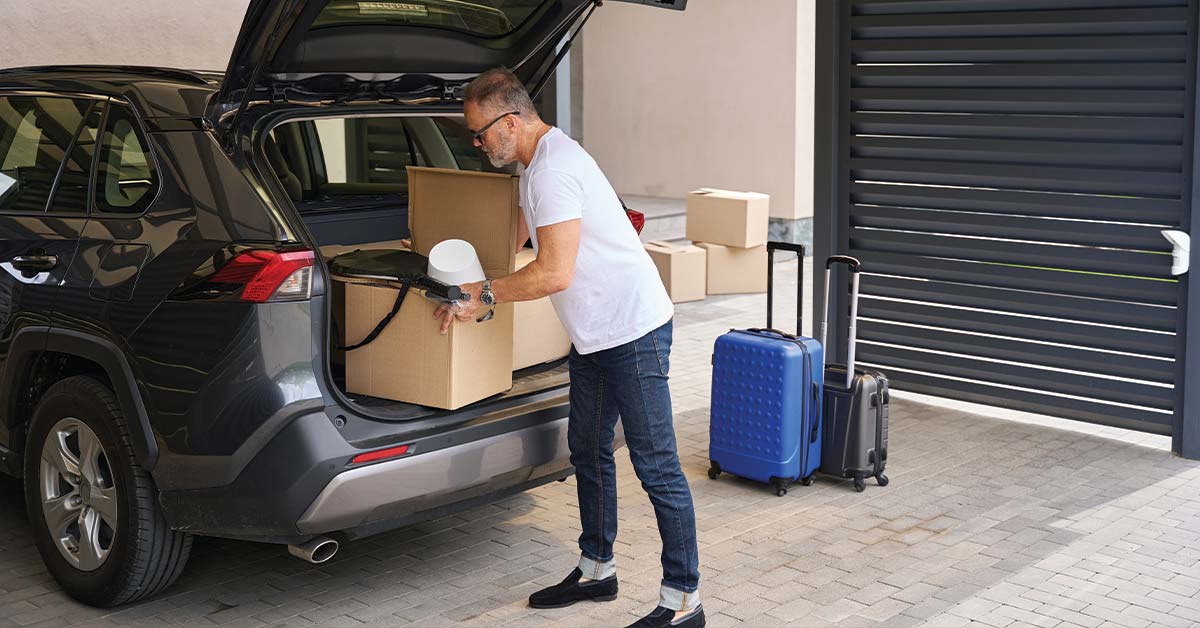
If you’re downsizing and moving to an apartment or moving to another city for school work and have some items you arne’t planning to take with you, renting a storage unit to store these belongings is a great idea. At U-Lock Mini Storage, we offer storage units across Greater Vancouver and Vancouver Island. We offer storage units Victoria, storage units Parksville, storage units Nanaimo, storage units Burnaby, storage units White Rock and Surrey and storage units Chilliwack. Contact us if you have any questions!
Before renting a storage unit, there are some key questions you should ask yourself. Here are top four questions you should ask before renting a storage unit.
What’s in a rental agreement?
Your rental agreement (also referred to as a rental contract, self-storage contract and lease agreement) will specify all the terms of your lease. It’s a binding document so you should read it carefully before you sign (online or in person) and abide by what’s in the document. Generally, your rental agreement will have:
- The description of the unit
- Length of the lease
- The amount of your rent
- Your payment due date
- The amount of your security deposit
- How payments are accepted (credit card, check, online)
- Non-payment terms (when a payment is considered late, what the late fee is, and what happens if you stop paying rent)
- Any additional fees (lock-cut fee, auction fee)
- Tenant rights and responsibilities
- Landlord rights and responsibilities
- Cancellation terms
- What you can and can’t store
- The value limit if there’s one ($5,000 is common)
- The move-out process (when to give notice, what condition to leave the unit in)
Should I insure my storage items?
Before storing your items, we do recommend that they are all properly insured. Not only will this give you peace of mind, but it will also help replace any items that are impacted while in storage.
Insurance is up to the individual and that most storage facilities do not have insurance to cover their goods
Besides household goods, what else can I store?
In addition to storing household goods, those using a storage unit can rent storage for specific items, such as boats, cars, RVs and motorcycles. We offer car storage Burnaby and Vancouver, car storage White Rock and South Surrey, and car storage Parksville.
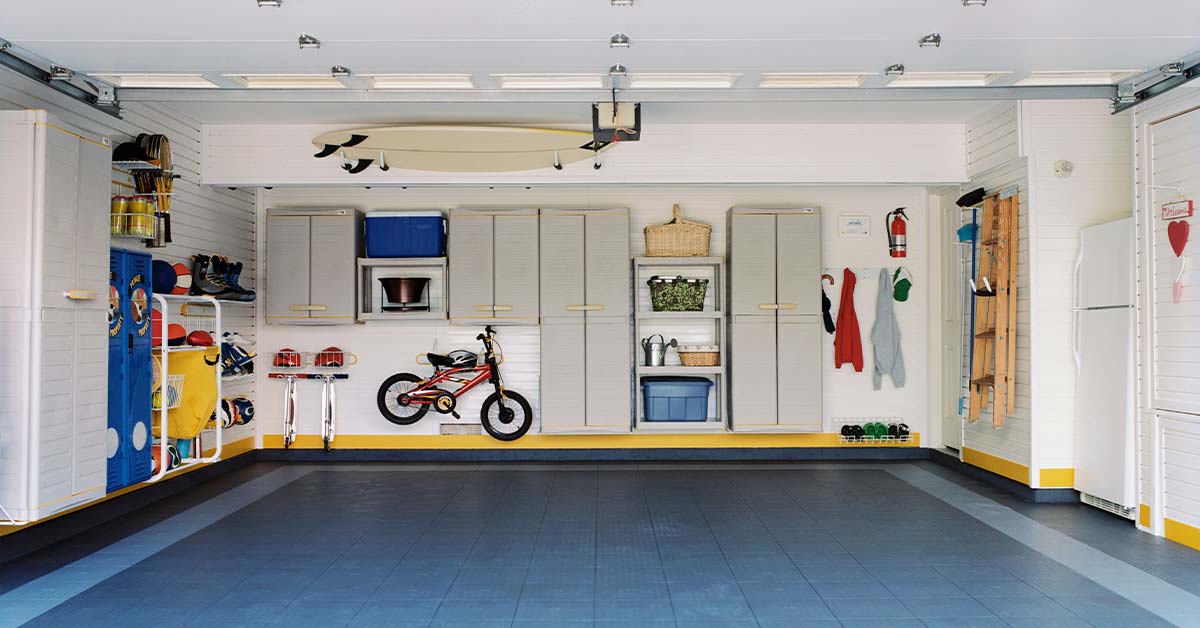
How do I prepare my items for storage?
Don’t just throw your items in a storage unit, especially if you will be using storage for the long term. Properly preparing items for storage is the best way to keep them in top condition. Here are several tips for how to properly prepare belongings for storage.
- Read about the rules and restrictions – make sure to read up on what is and what isn’t allowed before putting items in storage. Items such as guns, fireworks, chemicals and other hazardous items are not allowed inside a storage unit. Anything flammable is a big no-no, as is perishable food.
- Create a list of inventory of your belongings – If you plan to leave items in a storage unit for a while, you’re going to need to create a detailed inventory list of all belongings. Otherwise, you might simply forget what you’ve left in storage. We recommend writing everything down and taking pictures for insurance purposes as well. Save all photos and an inventory list in one place so you don’t lose track of your belongings.
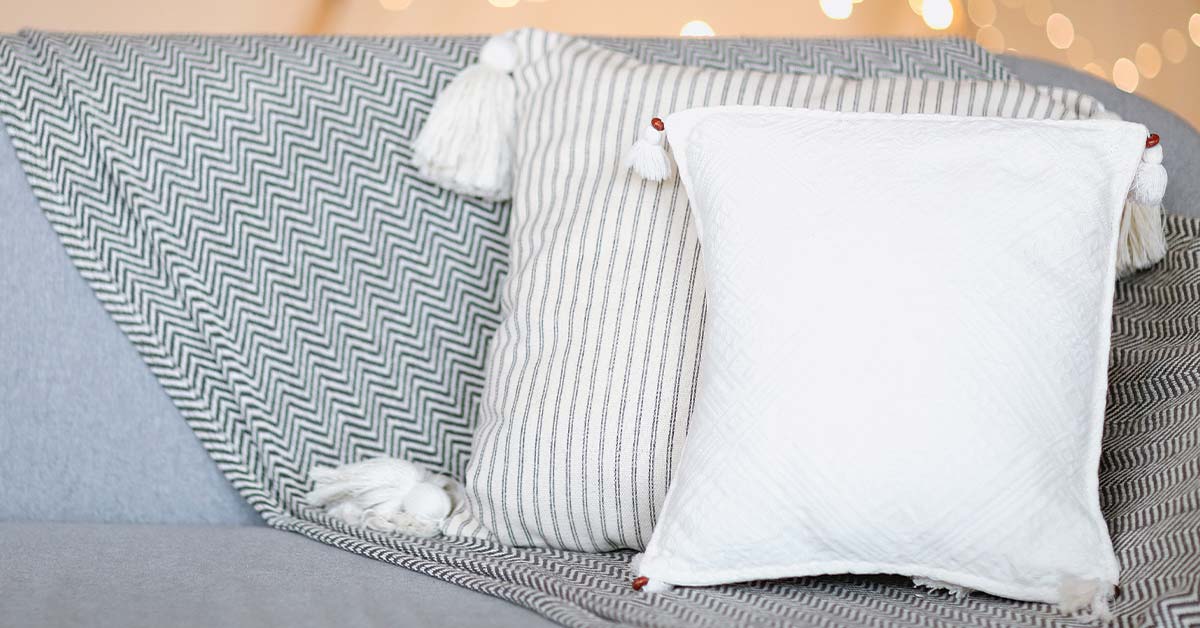
- Clean items – Before putting items in storage, it’s best to wipe them down and/or clean them, if needed. Wash and dry-clean clothes, vacuum pillows and upholstery and disinfect boxes. Make sure nothing is wet – otherwise, you could end up with mildewed belongings.
- Disassemble furniture – When storing furniture, make sure to disassemble it first. You may even want to wrap certain furniture items (i.e. headboards, table legs and mirrors) in protective wrap before placing them inside the unit. By disassembling furniture, you’ll also open up more floor space for boxes and belongings. If a table or large piece of furniture doesn’t come apart, think about how you can use it to hold belongings. For instance, a dining table can be used as a shelf for boxes.
- Pack everything very carefully – We recommend packing all smaller items in sturdy cardboard boxes and/or clear plastic bins. Plastic bins make it easier to see what’s inside, but cardboard boxes are less expensive (or even free) – so the choice is up to you. Pack everything just as you would for a real move. This means using everything from bubble cushioning and plastic wrap to packing paper and packing tape. Make sure to pack mirrors, TVs and artwork in appropriate boxes as well. This should prevent items from breaking while in transit and while in your storage unit.
- Label everything – Unless you want to lose track of what’s where, it’s extremely important that you label every box with exactly what’s inside. Use a permanent marker or printed labels and make sure the labeled part of the box is facing the front of the storage unit. A labeling strategy that works for many is to number each box and write the corresponding contents on a separate sheet of paper. For instance, Box 1: 10 everyday dishes; Box 2: A dozen wine glasses; Box 3: Wedding photo albums; Box 4: Books (list out specific names); Box 5: Christmas tree ornaments, etc. Make sure to save the inventory list in an easy-to-access location.
- Be strategic about where you place items – Finally, when placing items inside the storage unit, be strategic about how exactly you place belongings. For instance, mirrors and artwork should be placed in an upward position – not lying down flat. Boxes that contain fragile items should be placed higher up so that they aren’t crushed by heavy items. If there’s room in your storage unit, we recommend lying your mattress flat on top of boxes, so its condition isn’t damaged over time. Make sure to also place items you need more frequently towards the front of the storage unit, so you can access them more easily. Items that you use less should go in the back. Consider placing a step stool inside your storage unit to make obtaining boxes and items that are placed up high easier.